How to edit a safety manual template in Word, step by step
Editing a safety manual template goes fastest when you work in order: keep a clean master copy, add your company name and logo, refresh the table of contents, set the responsibilities to match the roles you really have, write down the routines you will actually keep, remove the safe work practices for work you never do, fill in your emergency details, then sign and roll it out. Each step below takes you through it in Microsoft Word, using a manual from this store as the example.
By Quick Safety Compliance · · 4 min read
Before you open the file
Gather these first so you are not hunting for them halfway through:
- Your company's legal name, exactly as it should read on the manual.
- Your logo as a PNG or JPG file.
- The roles in your company: owner or manager, supervisors or foremen, workers, and any subcontractors you bring on site.
- The work you do and the equipment you use, so you can tell which safe work practices apply.
- Emergency contacts, first aid arrangements and the address of each regular work location.
- Anything a client has already told you it expects, such as orientation records or a set inspection schedule.
Step 1: keep a clean master copy
Save the download as it arrived in a folder of its own and never edit that copy. Make a working copy and date it. If an edit goes wrong you can start again from the master, and the dated copies show a client or auditor that the manual is maintained.
Step 2: add your company name and logo
After you buy a manual here, the free brand-it step does this for you: type your company name, choose your logo, and you get back a personalised Word file with the name in place of every COMPANY NAME and in the page footers, and the logo on the cover and in the page headers.
To do it by hand, open Find and Replace (Ctrl+H), replace COMPANY NAME with your company name, then double-click the header area to insert your logo. If the document has more than one section, check the header of each one.
Step 3: refresh the table of contents
When you open a file from the brand-it step, Word asks whether to update the fields in the document. Click Yes and the page numbers in the table of contents match your branded file.
After any later edit, right-click the table of contents, choose Update Field, then Update entire table. Use Microsoft Word on a computer for this; online and other editors do not always refresh the contents and headers correctly.
Step 4: make the responsibilities match your real structure
Clients and auditors look closely at this section, and it is easy to leave generic. Use the job titles that exist in your company, and if one person wears two hats, say so.
- Owner or management: who provides the resources, approves the program and is accountable for it.
- Supervisors or foremen: who completes hazard assessments, orientations and inspections, and who follows up corrective actions.
- Workers: following the procedures, wearing the required PPE, reporting hazards and incidents, and the right to refuse unsafe work.
- Subcontractors: what you expect from them before they start, and who supervises them on site.
Step 5: write down the routines you will actually keep
A manual is compared against your records. If it says inspections are weekly and your records show one a month, the gap is what gets noticed. Set each routine to a rhythm you will keep: when hazard assessments are done (start of shift, a change in the task, new workers or new equipment), how often each kind of inspection happens, how often you hold safety meetings, and where each record is filed.
Step 6: keep the safe work practices that apply
Every manual carries the safe work practices for its trade: the Alberta construction manual has 39. Remove the ones for work you never do, then update the table of contents again. If you do work the manual does not cover, add a single safe work practice for $9.
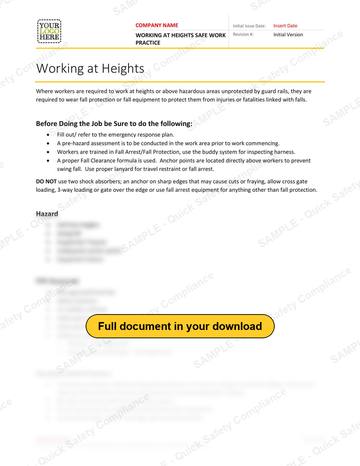
Working at Heights Safe Work Practice
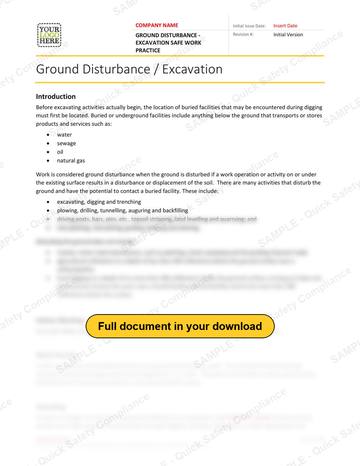
Ground Disturbance - Excavation Safe Work Practice
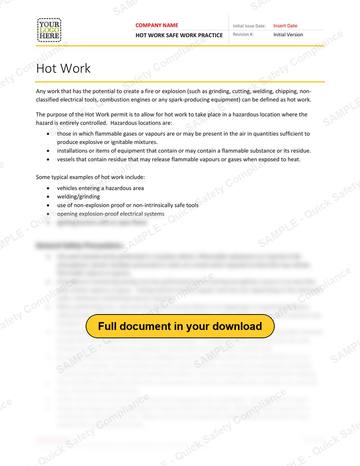
Hot Work Safe Work Practice
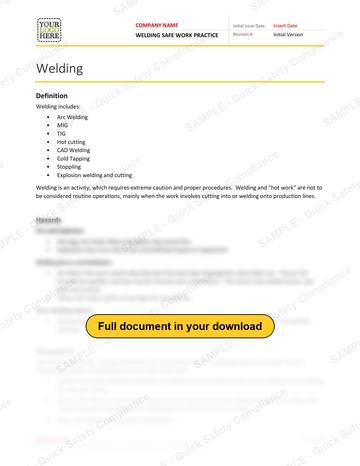
Welding Safe Work Practice
Step 7: fill in your emergency details
Complete the emergency contacts, muster points and first aid arrangements for each regular work location, and the nearest medical facility. The Implementation Kit includes ready-to-post text for an emergency contacts poster, so the same details go up on the wall.
Step 8: sign, date and roll it out
Sign and date the health and safety policy statement. Then use the Policy Sign-Off Sheets to record that management has adopted each policy and that workers have read them, and the Worker Orientation Checklist and 30-Day Check-In to walk each worker through the program. Keep the signed sheets: they are your first records.
The Implementation Kit: 8 tools included with every manual
Questions
Can I edit the manual in Google Docs?
You can open it, but the table of contents, headers and fields are built for Microsoft Word on a computer. Edit in Word, then save a PDF copy for anyone who only needs to read it.
Should I delete sections that do not seem to apply?
Keep the 12 program sections: together they are the written program. Remove safe work practices for work you never do, and adjust the wording of a section rather than deleting it.
How do I add my company name to the forms?
The forms are fillable PDFs. Type your company name into the company field when you fill each one in, or save a copy with the name already filled in as your blank.
Get the document today
See every section before you pay, download it in minutes and make it yours with your company name and logo.